
2026-03-01
We're wrapping up the Build Your Own Game Jam, and I've been busy! My goals going in were: (a) jam with new people (b) make an alt controller (c) don't buy any new parts
I joined up with a team, all of whom were new to me, and we very quickly came up with a fantastic game idea--one which did not lend itself easily to alt control. Imagine the classic Snake game, but he eats letters in order to spell target words. Snake Teaches Typing!
The next morning I had a flash of inspiration. I took a cheap keyboard out of the closet (why do I have this?), pulled its brains out, and replaced them with an Adafruit Circuit Playground. This is entirely overpowered for all I needed it to do, but it's the only accelerometer I had on hand. So I wrote a little code to have the "keyboard" detect if it was tilted down on one side, and if so, to send the appropriate WASD key. I thought it would be very funny to be like "Cool, a typing game, here's my keyboard" and then be told the keys don't work, you have to tilt it to move.
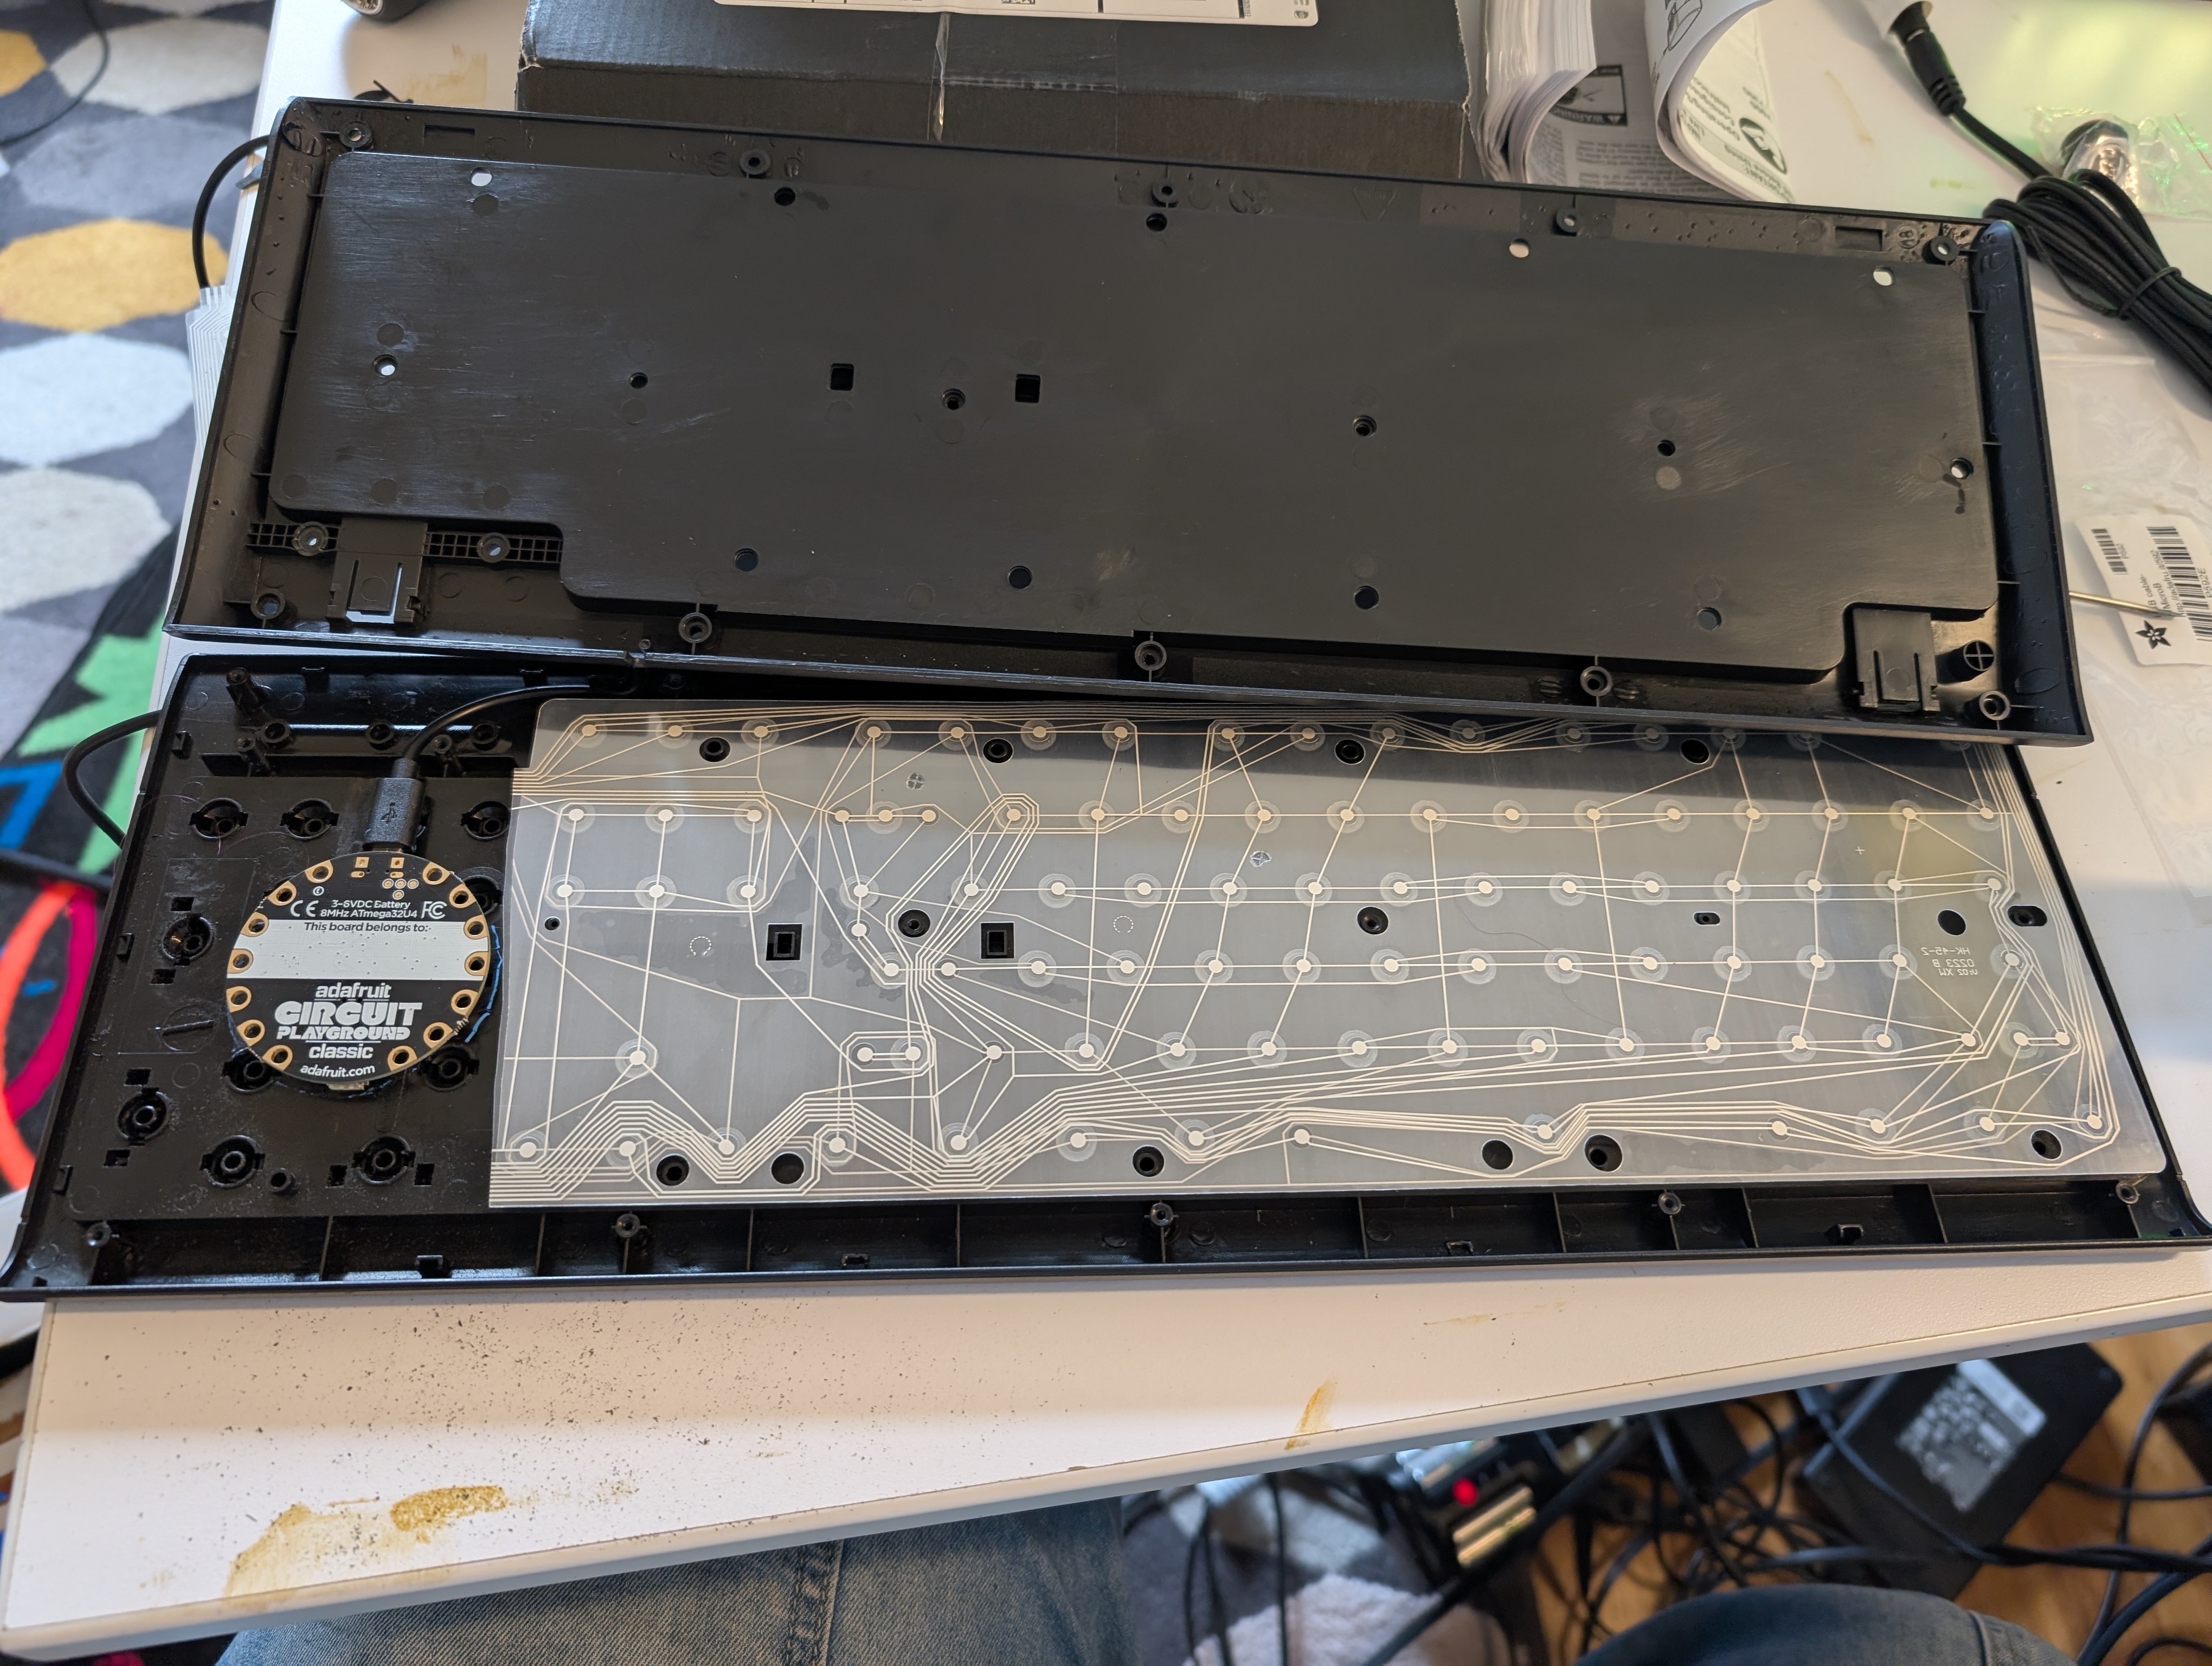
I had to make some room inside the to accommodate the new brain. I did this with the aid of a ten-year-old Dremel with a pumpkin carving bit. For the record I do not recommend this, but it was the tool I had on hand.Long story short, the rest of the team couldn't really integrate it with the game, and they returned the controller and very politely kicked me off the team. Jams do be like that sometimes.
Fortunately!
While brainstorming with the team during kickoff, I had a different flash of inspiration for a solo project. It is also a typing game. Of sorts.
Last fall I bought the parts to participate in the Flip Out Alt Control jam, but was too busy to participate. The parts in question: five toggle switches and a push button. I wired them up to an Arduino Leonardo and mounted it in the box they came in. I painted the box all over with black acrylic paint and decorated it with Posca markers.
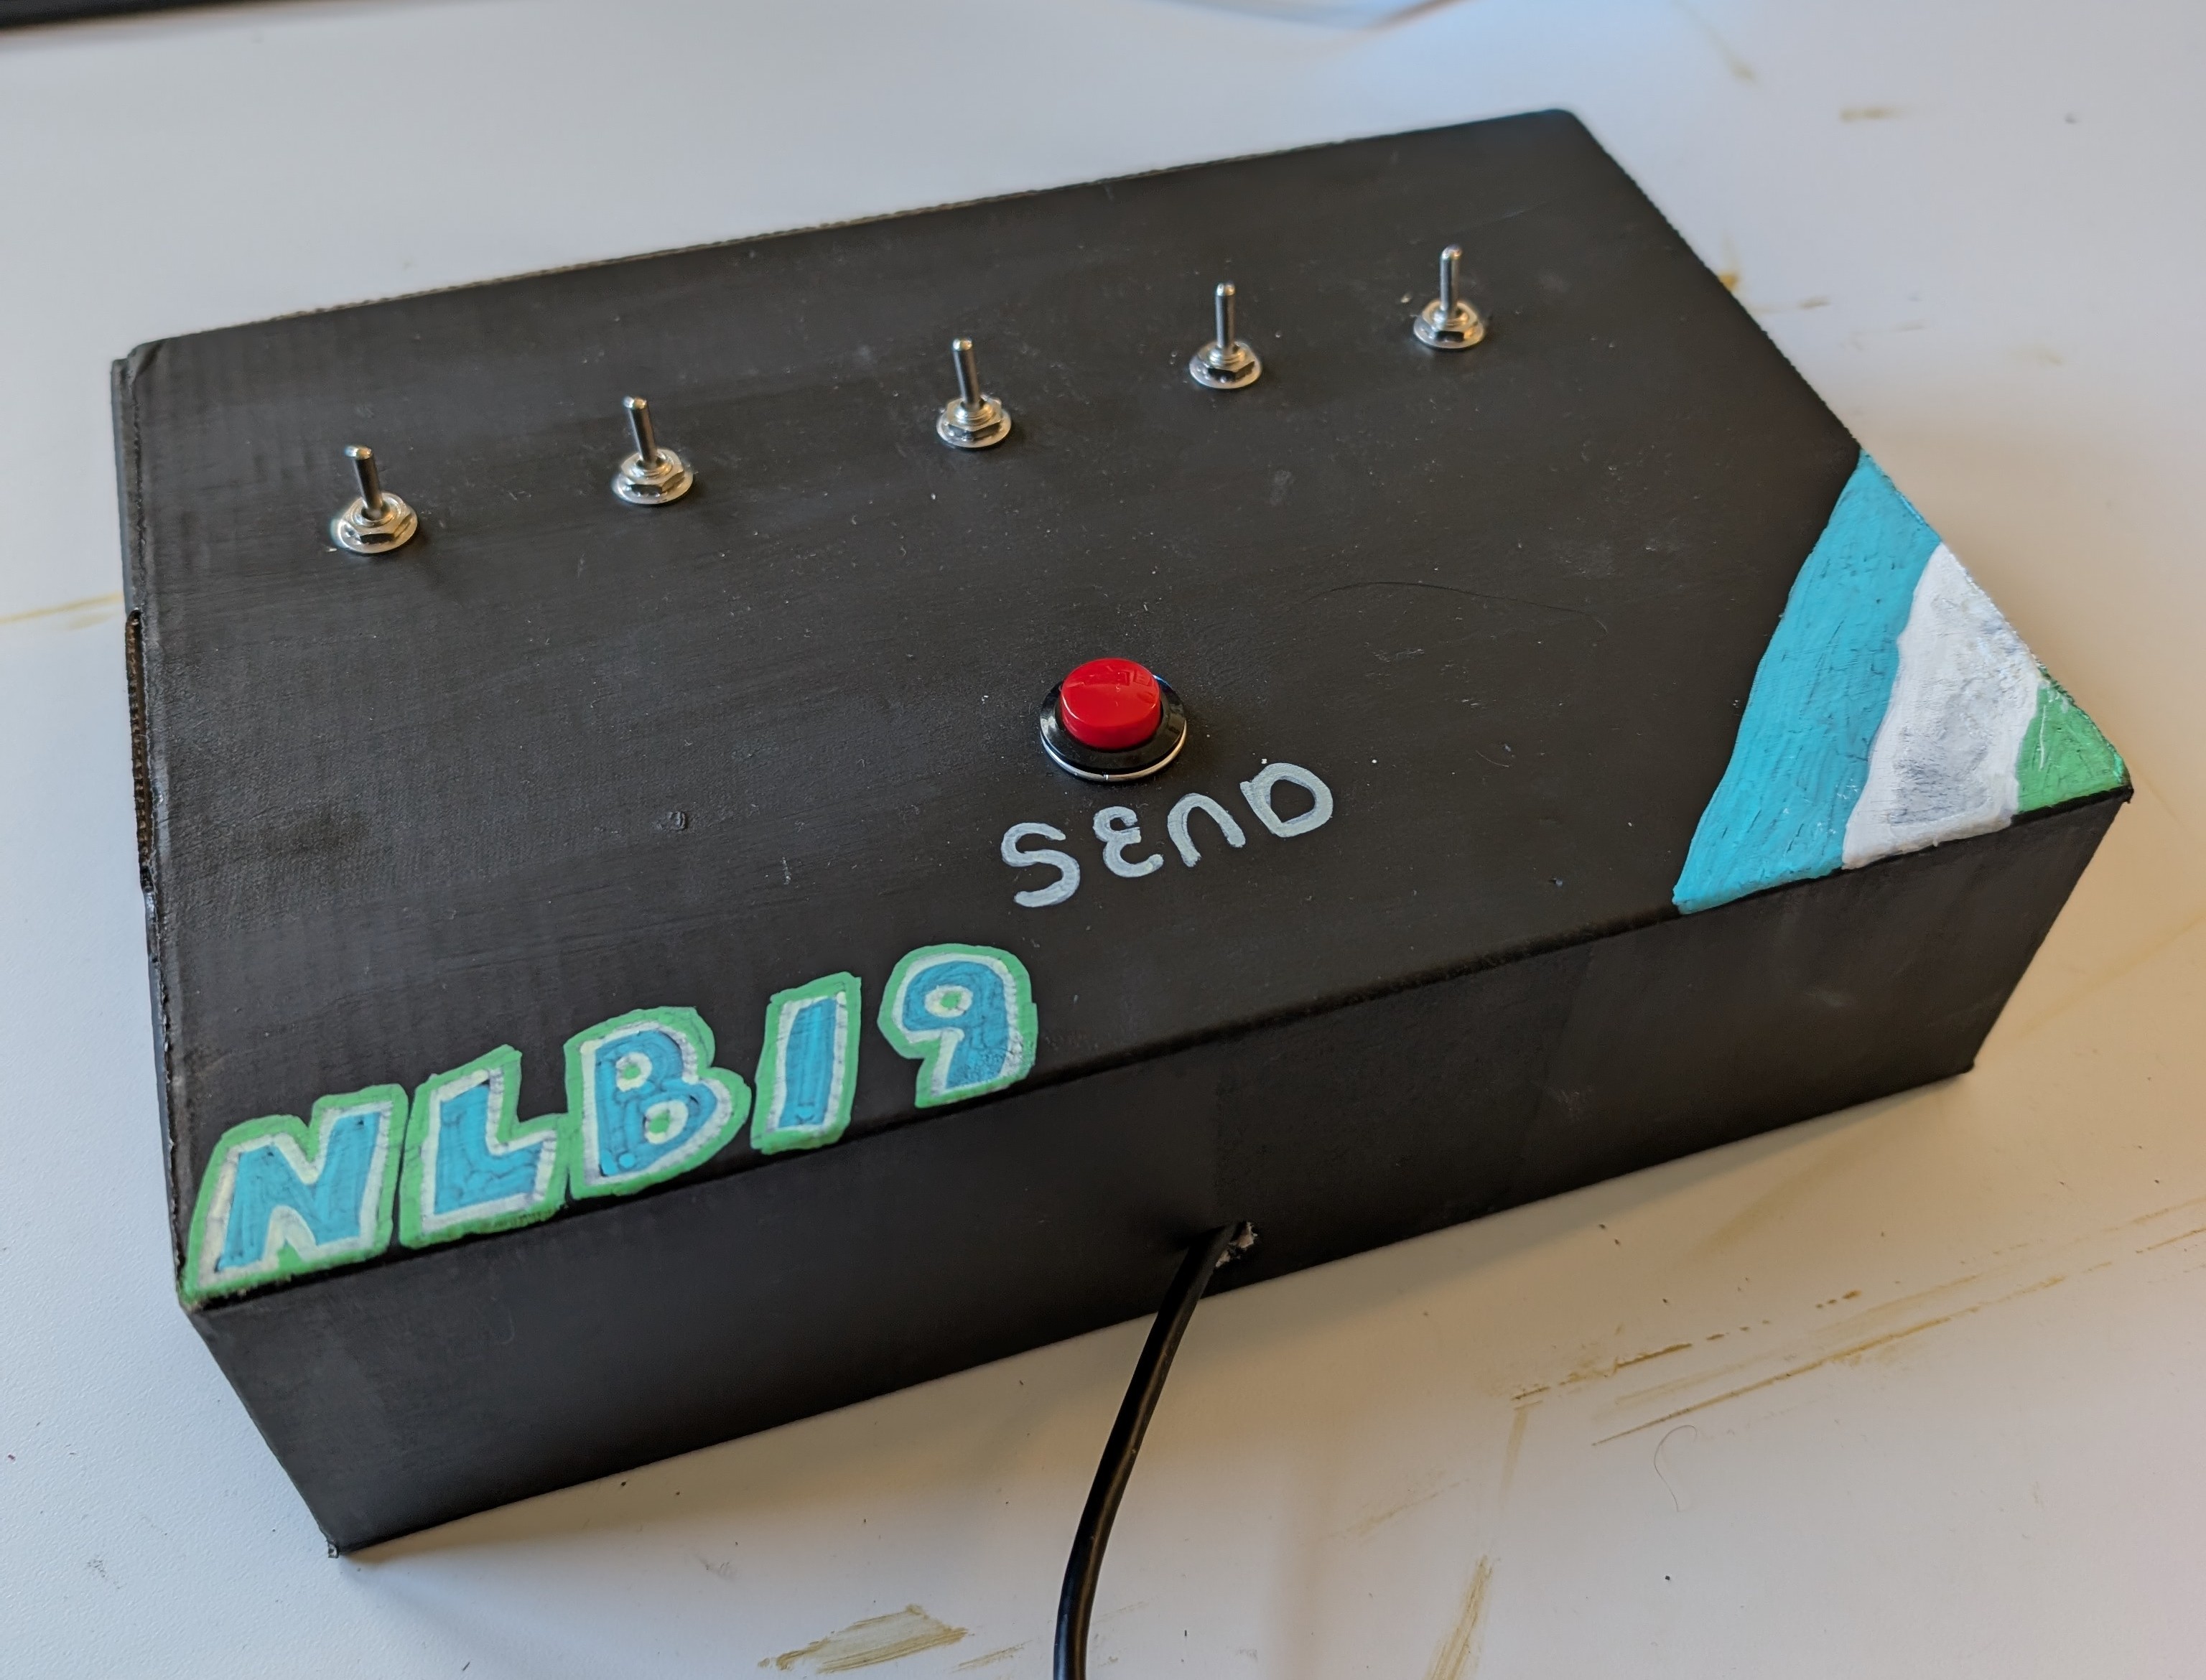
The way it works is a little weird. You configure the switches however you like, but nothing gets sent to the computer until you push the pushbutton (helpfully labelled SEND). When you push SEND, the controller reads the state of the 5 pins, maps the input like below, and then sends a five-character string across the wire. The game converts this into a single character.
 1   2   3   4   5
[!] [!] [!] [!] [!]
 q   w   e   r   t
I could have done that mapping onboard the Arduino, but I wanted the game to be playable on a normal keyboard as well. And it is! But that's the subject of another post.
I do want to upgrade the NLB/9's enclosure to something more substantial, I think ideally wood. I already know I'm going to be submitting this to MAGFest, and there's no way a cardboard box will stand against those crowds. If I wanted to get really fancy, I could upgrade it by adding LEDs above and below each switch to show the status. Eh, but that requires soldering. I managed to do zero soldering this jam!
The wildest part to me is that I was able to build both of these controllers in a single weekend. They're really not complicated. But a couple years ago, doing something like this would have been really intimidating. I'm really pleased to see how far I've come.
I'll be bringing both of these out to the jam showcase next Monday (Mar 9), so if you're in the area come by and check em out!