
2023-11-25
Progress Bar
When we left off last time, we'd gotten the old code running offline on a Raspberry Pi. This week, I worked on a boring thing (goal 3) and an interesting thing (goal 4).
GOALS
- Build a demo machine ✅
- Make it run offline ✅
- Fix all the breaking changes
- Build a reset button
- Improve the UI and gameplay
- Build a backup controller
Goal 3: Fix the Breaking Changes
Status: ✅ COMPLETE
In between Phaser 3.18 and Phaser 3.6, the syntax for particle emitters changed, which resulted in my game locking up the instant an upgrade became available. I'm not going to comment about this beyond linking the SemVer standard.
Since I already had the code open and was messing around with the particles, I added a bunch more.
Of course, now that I had the code open, I started tweaking the UI. This is technically goal 5, but I couldn't resist. Also I got bored before I finished. I'll come back to it later. But now it's time for THE BIG BUTTON.
Goal 4: Build a Reset Button
Status: ⌛ MOSTLY DONE
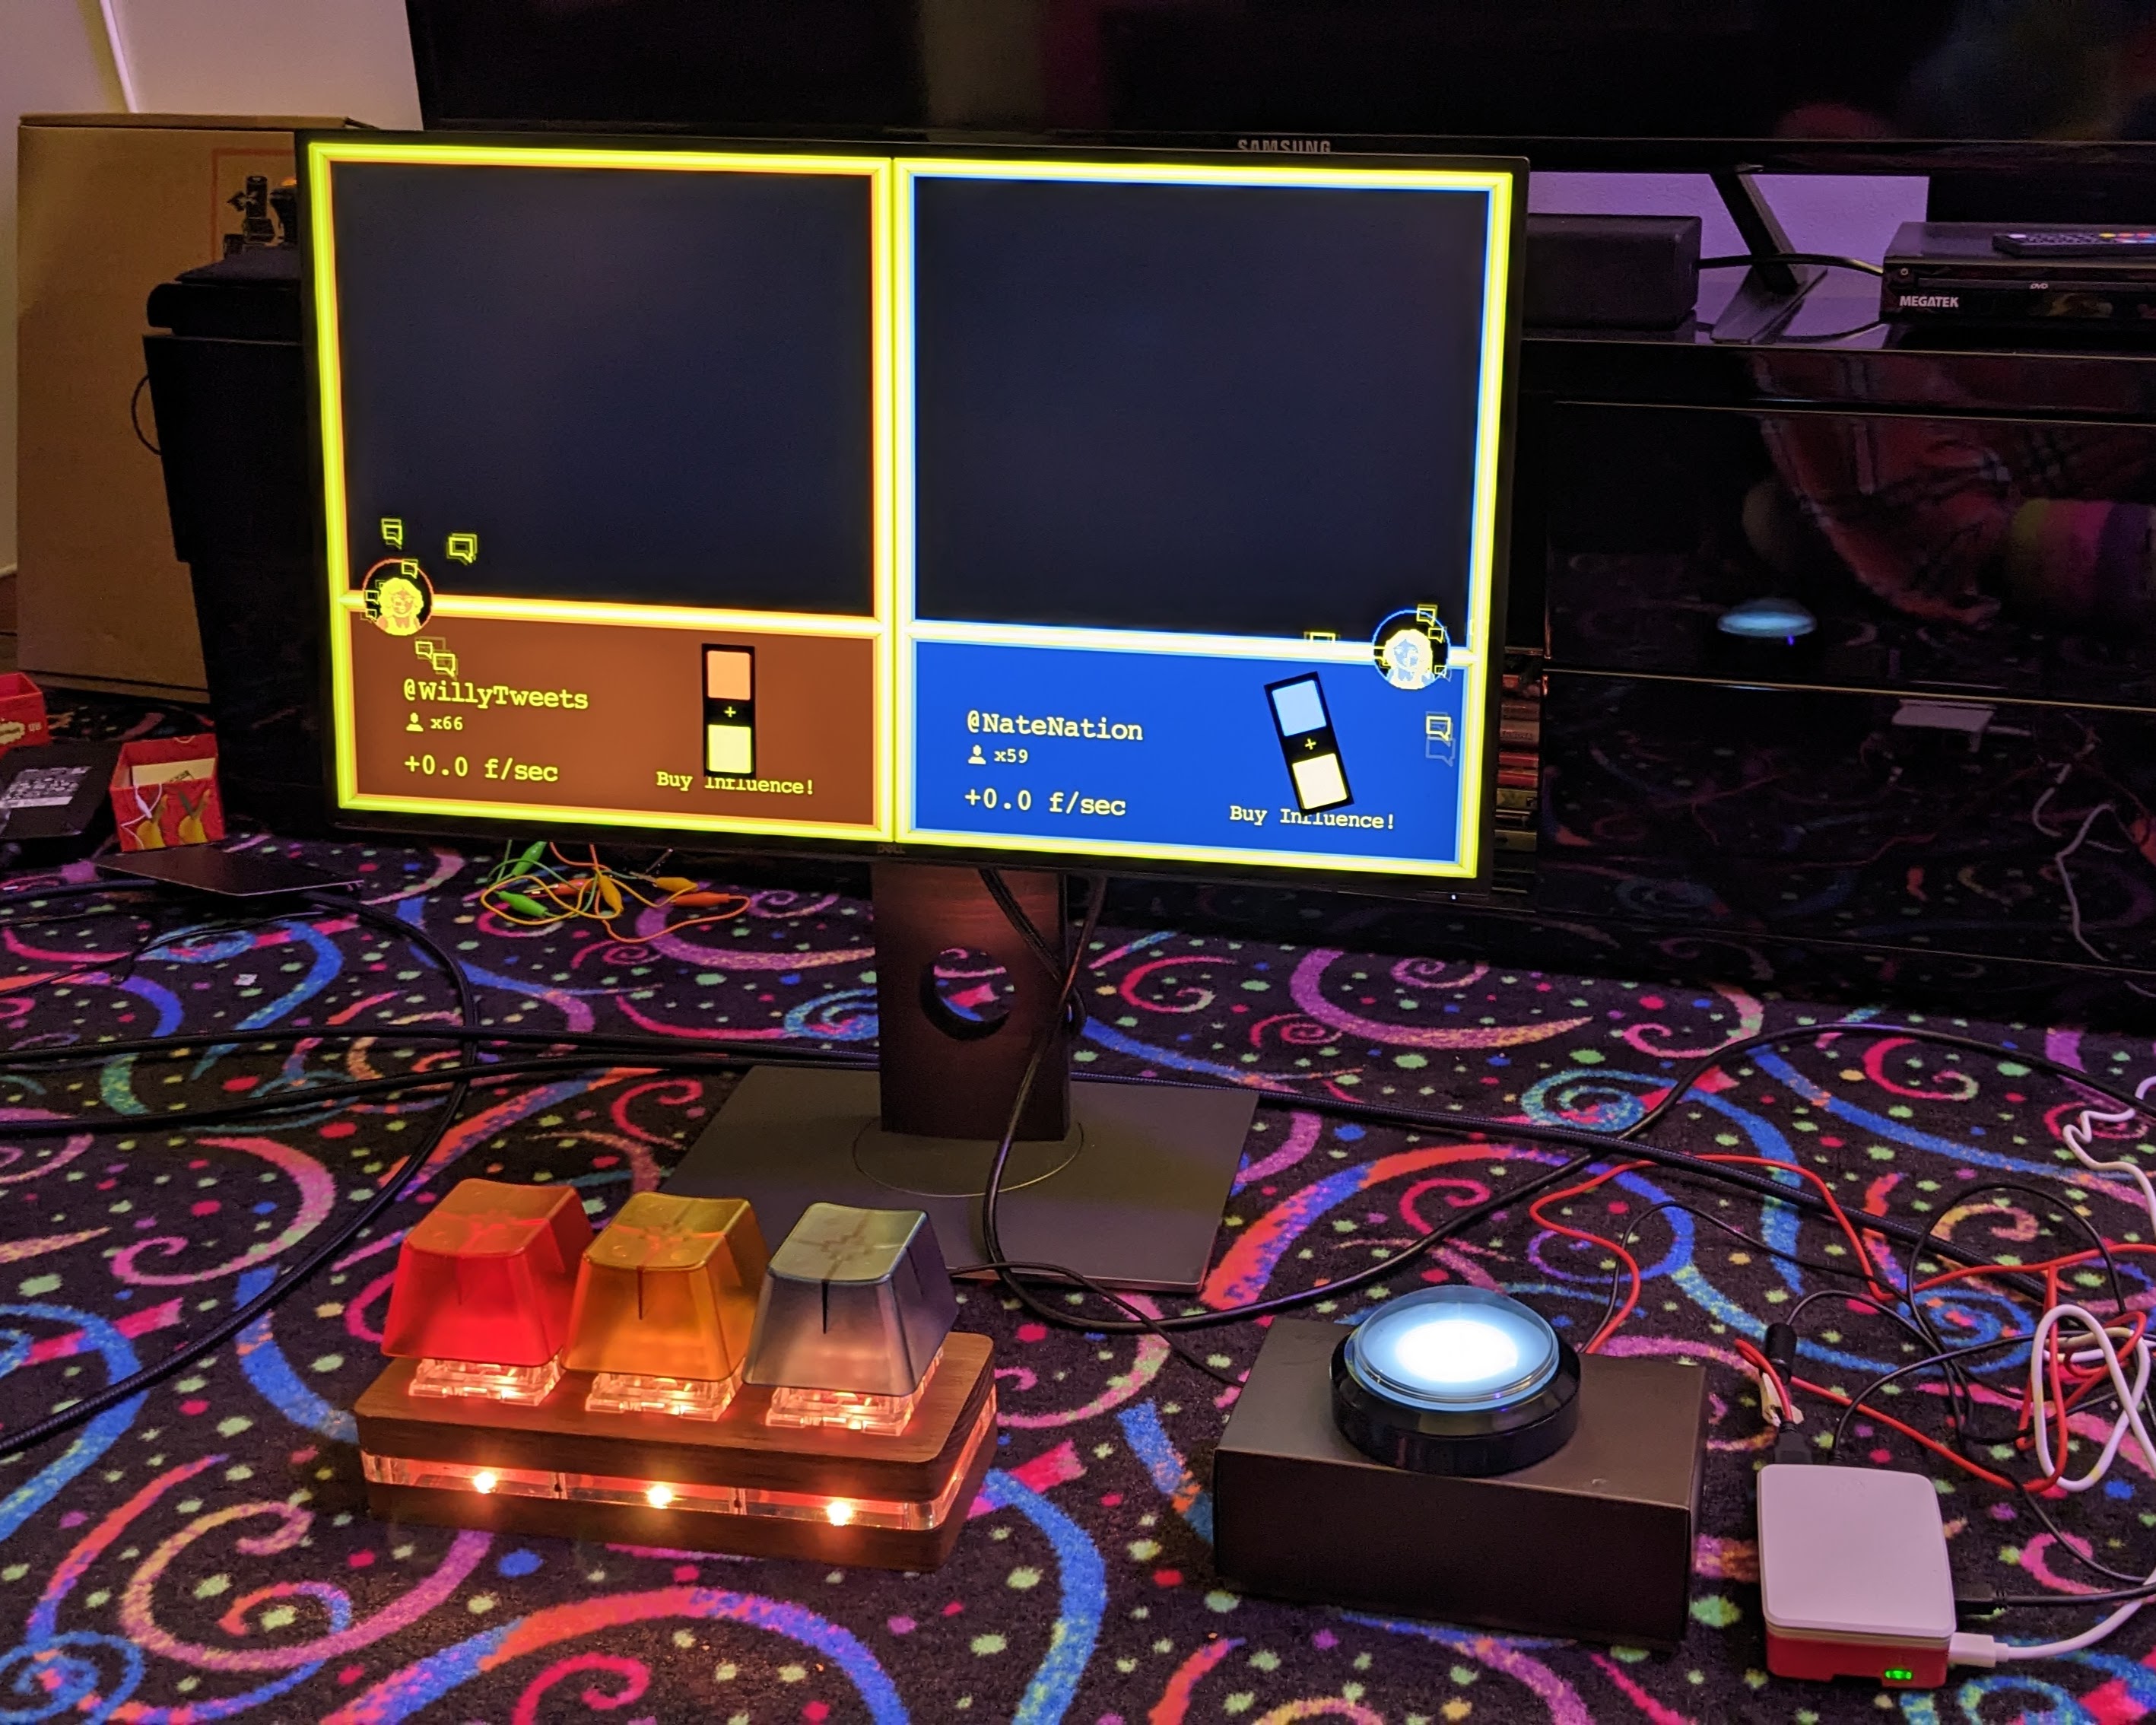
If you're taking a game out in public, it needs a reset button. People will wander off before finishing for any number of reasons, and you don't want to have to rush over and manually get things back into a good state whenever that happens. This is always true, but this is even more true for an arcade-style game where the players don't have access to keyboard or mouse. Win Stupid Prizes has exactly three buttons: orange, yellow, blue.
Ok, well, now it has 4.
Because this is a web game, resetting it is as easy as hitting F5. I just needed a giant, standalone, F5 key.
Now I have one, and I'm gonna tell you how I did it, but I want to stress that I do not know what I'm doing. I haven't blown anything up, shocked myself, or started any fires, so I figure I'm doing it at least mostly right, but if you're planning to follow my directions, just, you know, be careful.
Parts
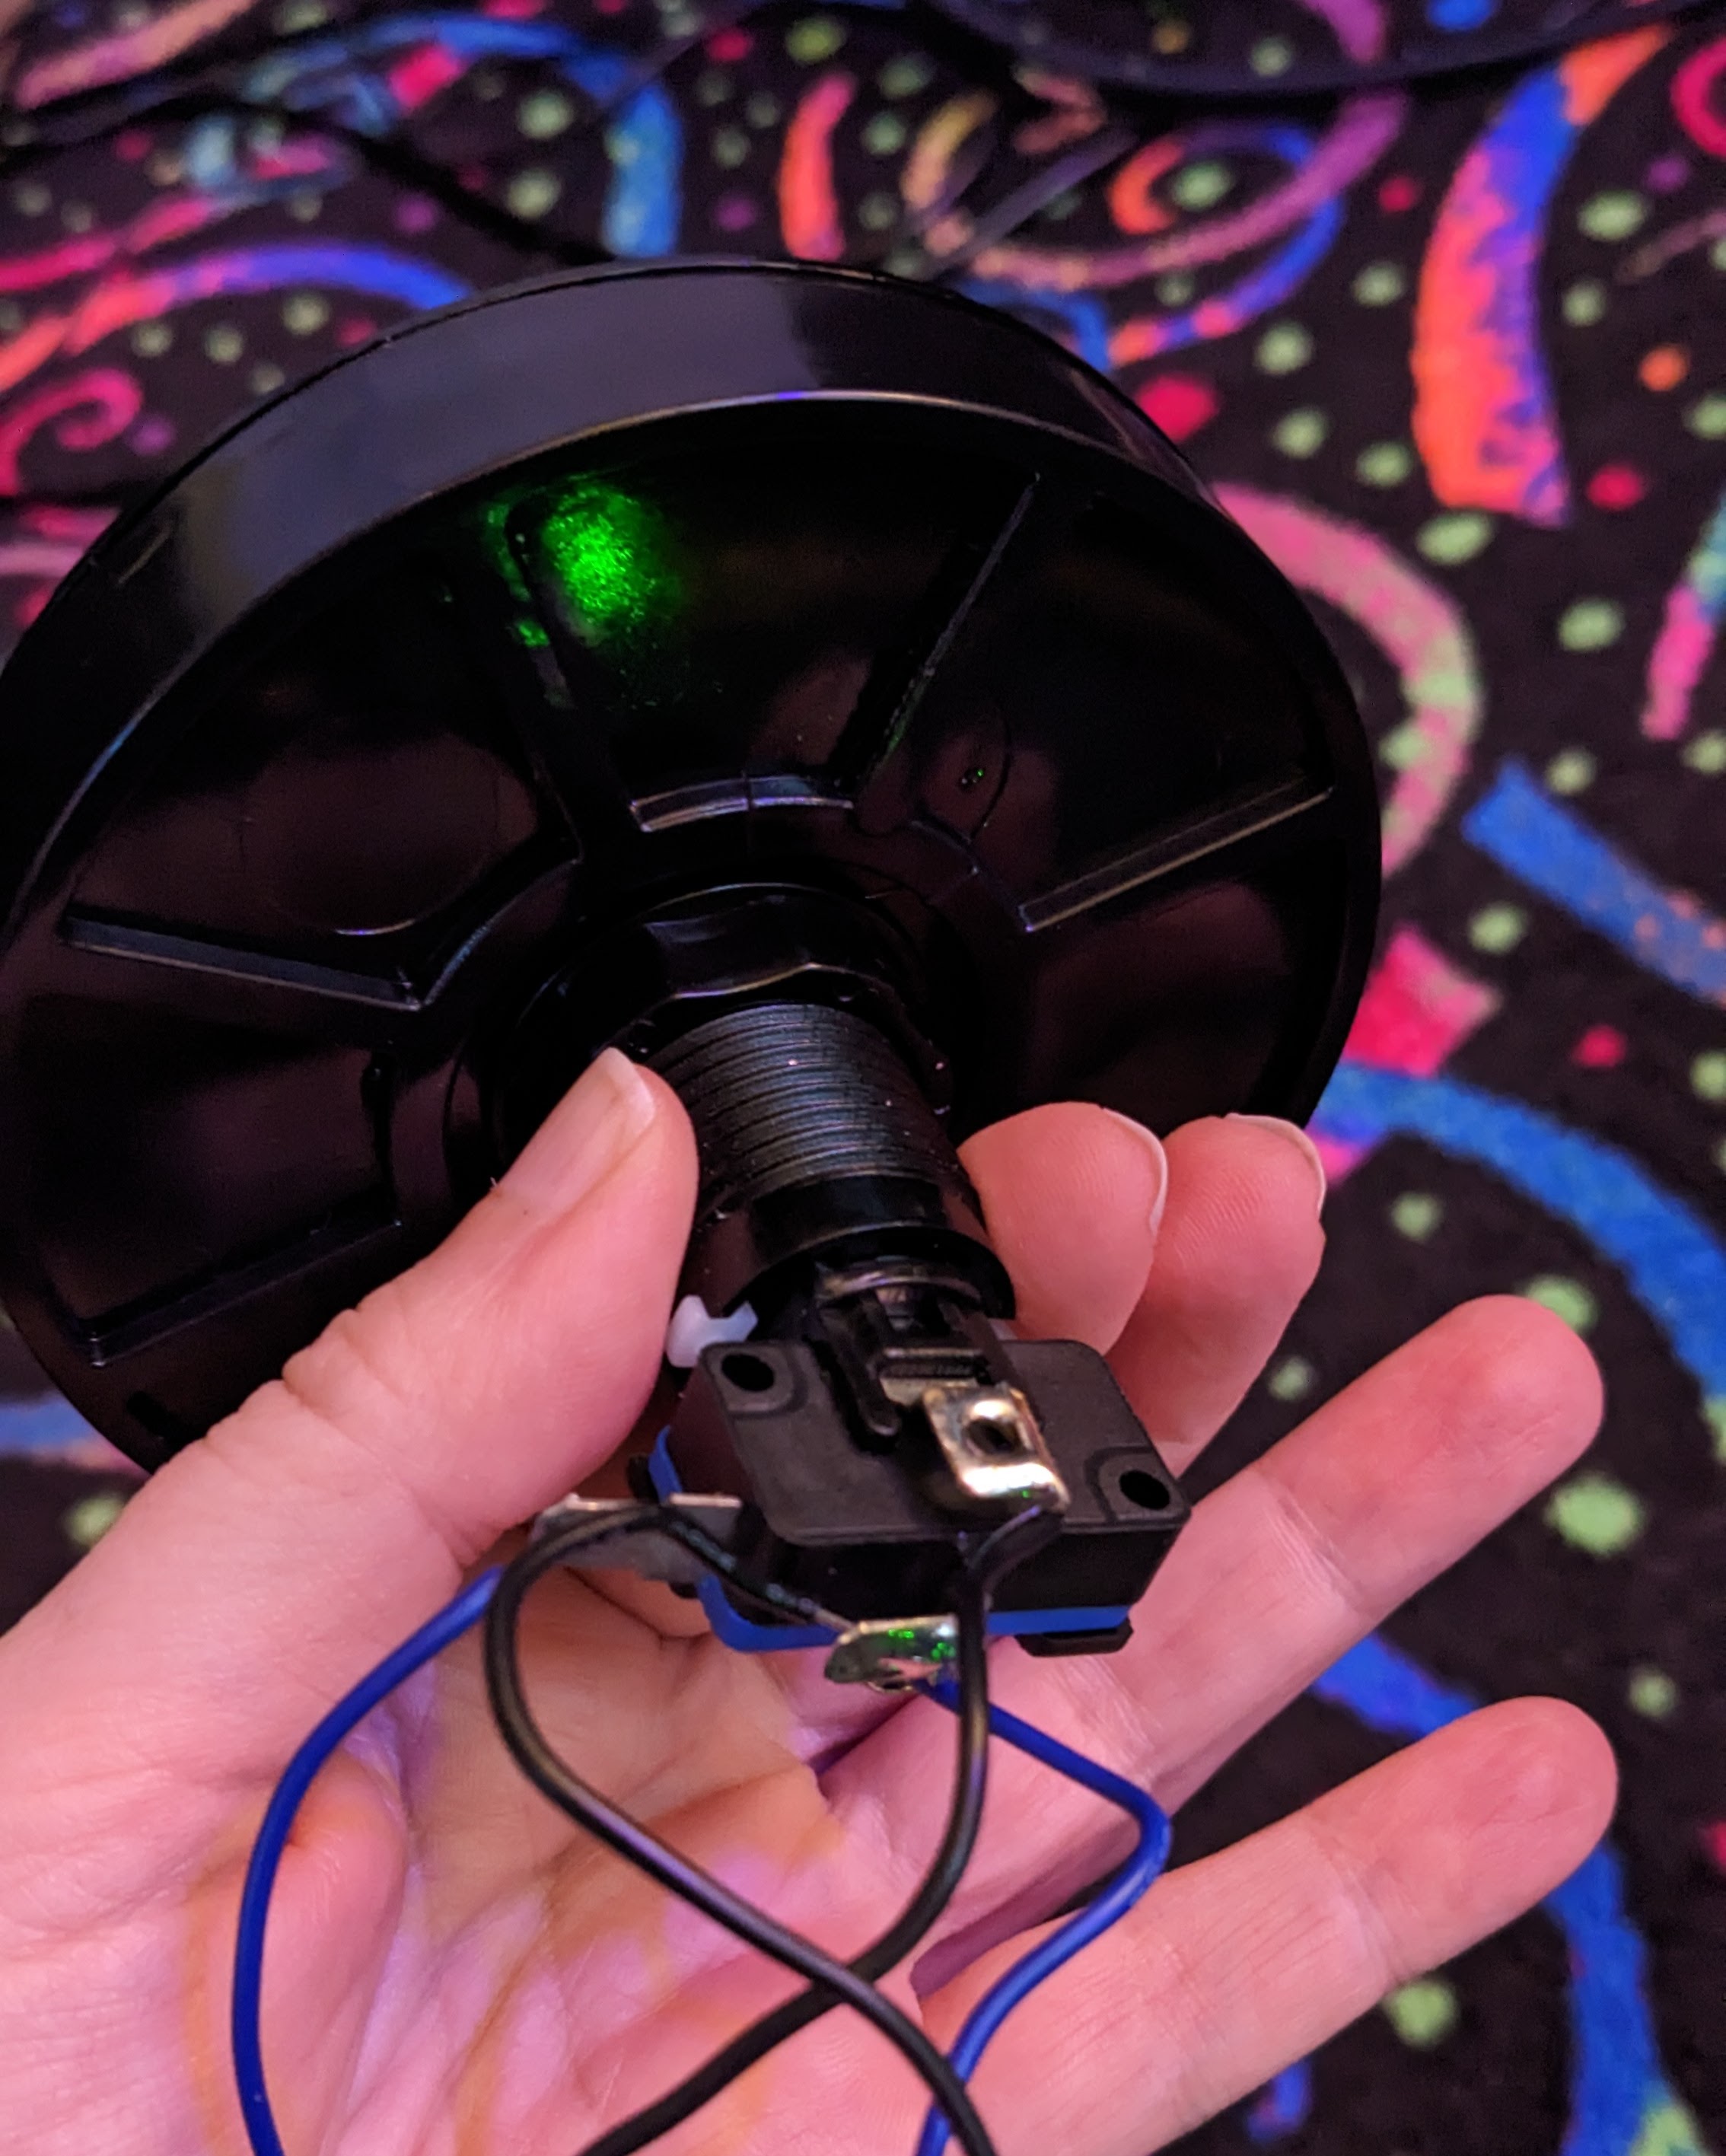
- Massive arcade button with LED, white
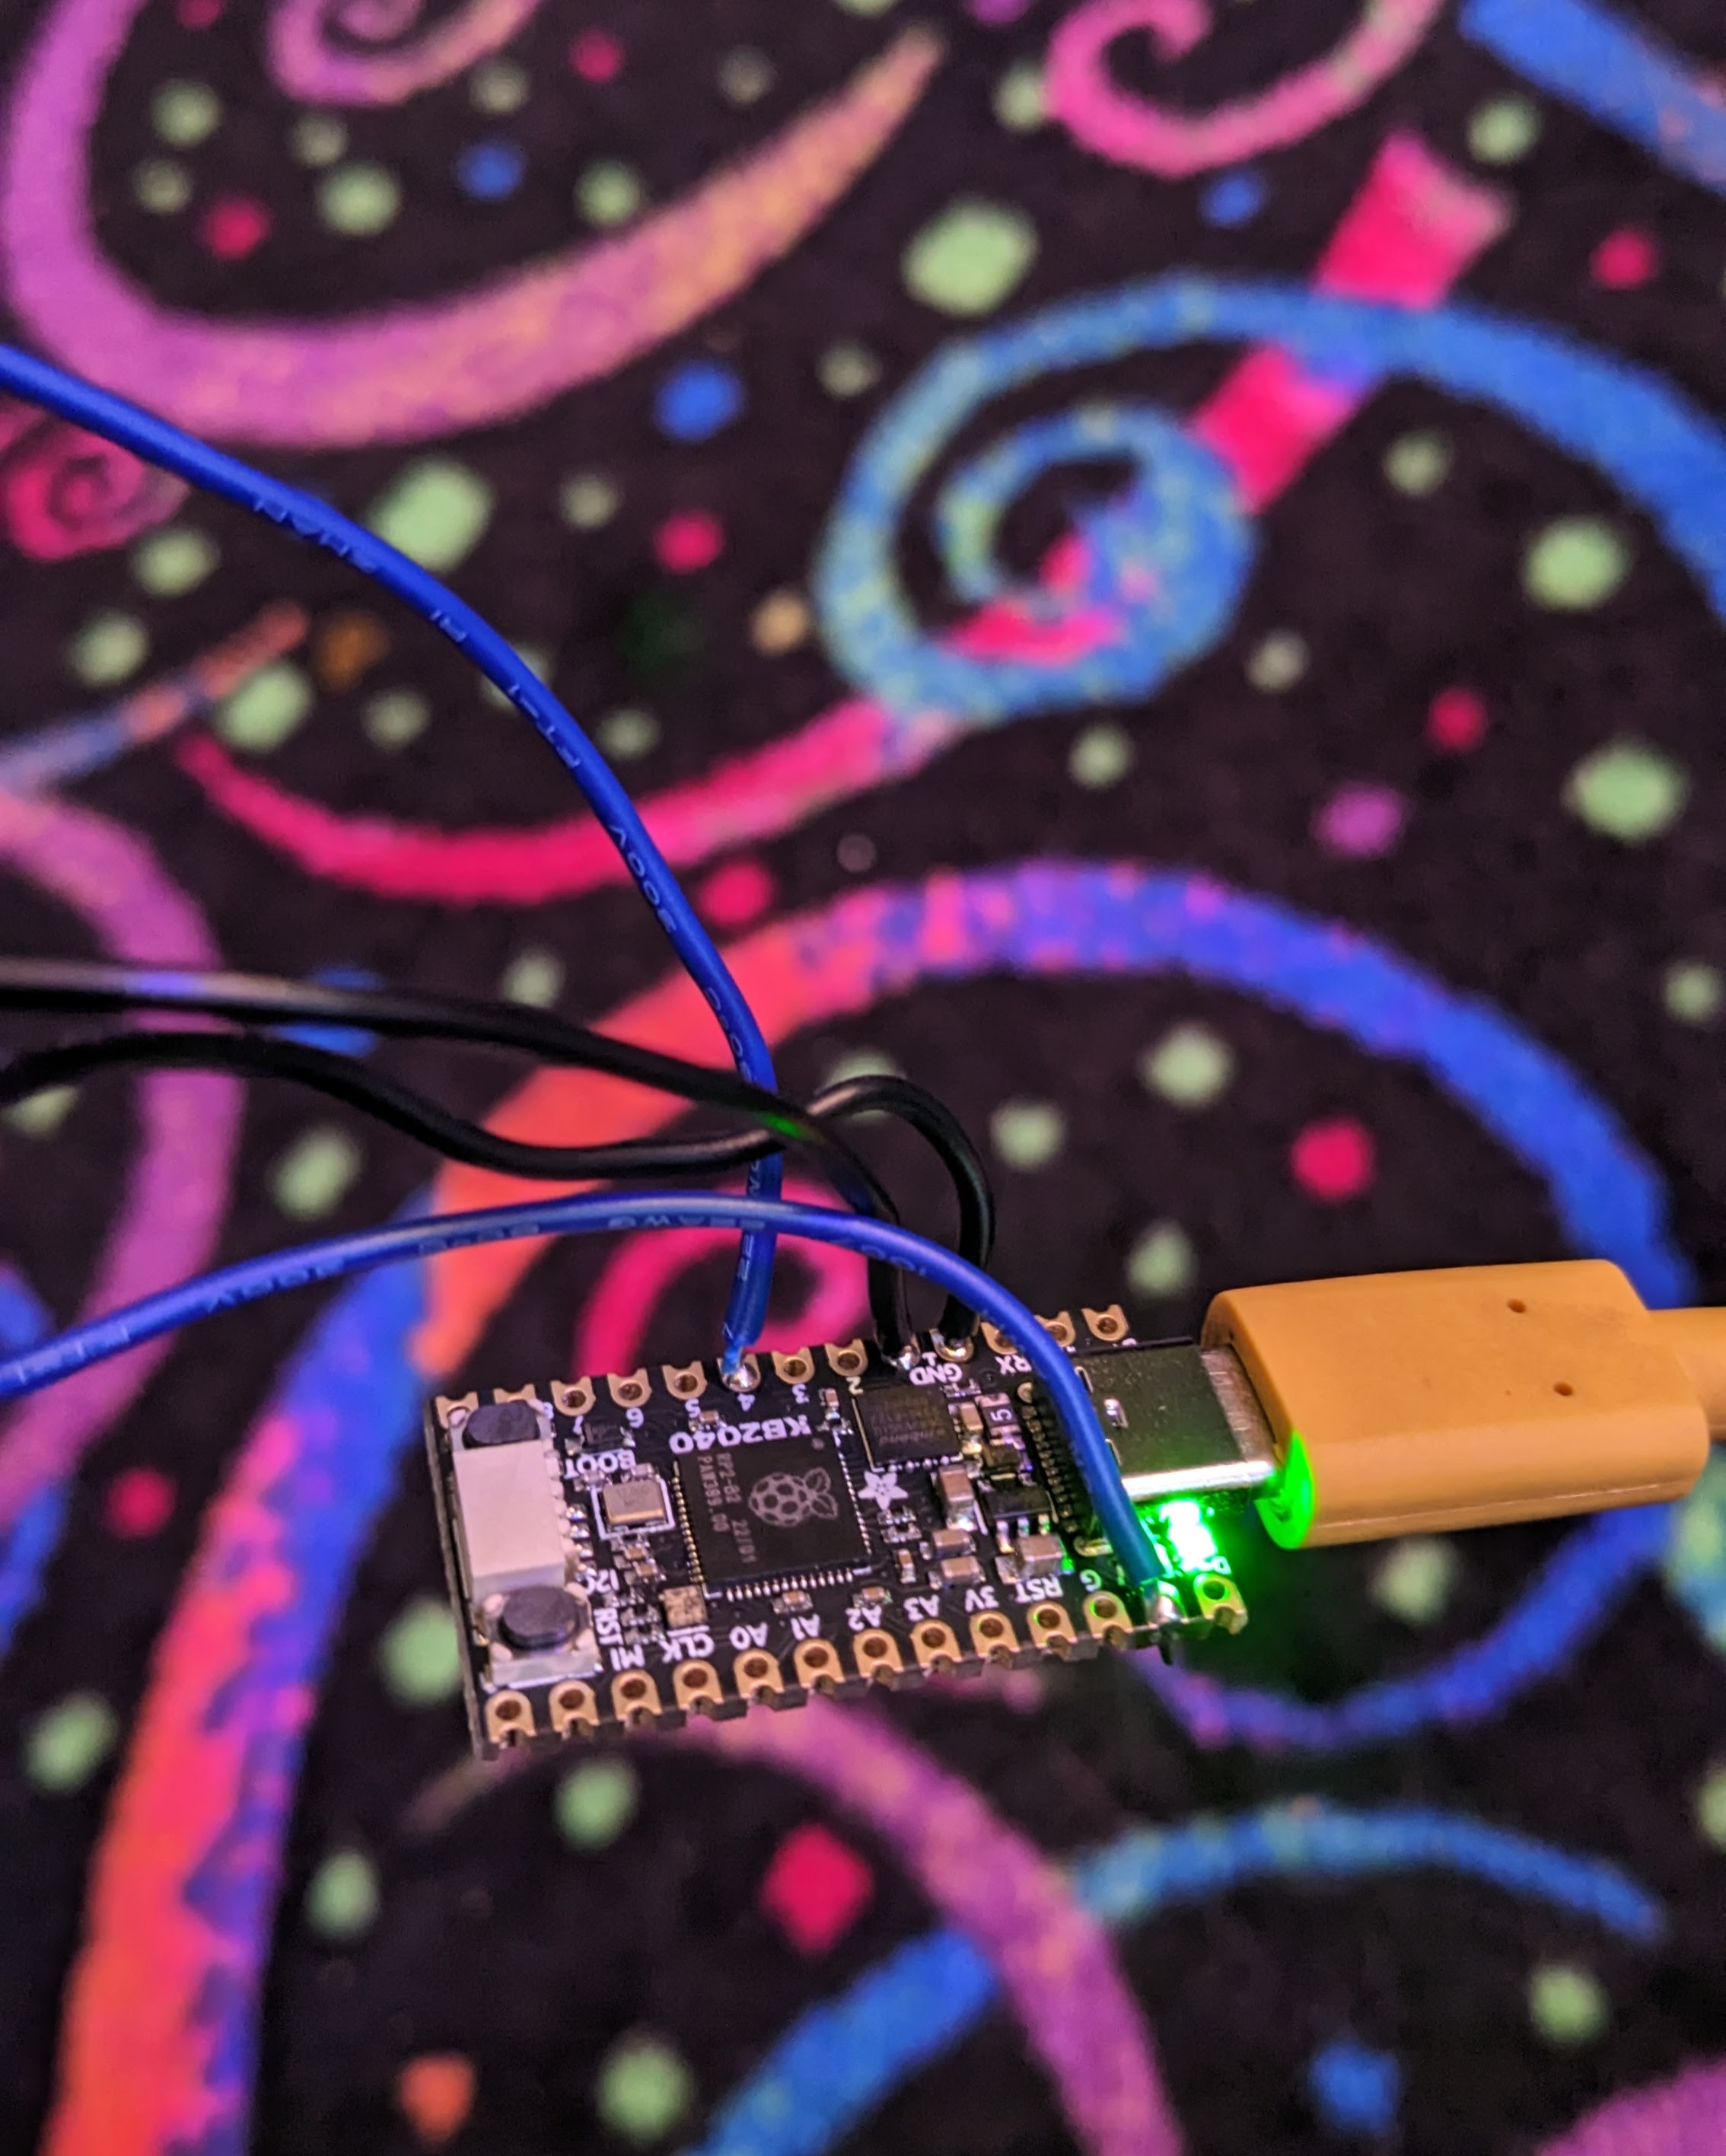
- Adafruit KB2040 - later I learned I could have saved $5 by using a Raspberry Pi Pico. RIP one latte
- Wires
- USB-C cable that plugs into the wall (as opposed to the computer, though you'll need to plug it into the computer for flashing it)
- An enclosure, aka, a box that MAGFesters won't immediately obliterate (in progress)
Hardware
The big ole button comes with an arcade microswitch fused to an LED. This thing has 4 prongs, sorry, terminals, 2 for each. I could not find this diagram online anywhere, so here, a gift for you:
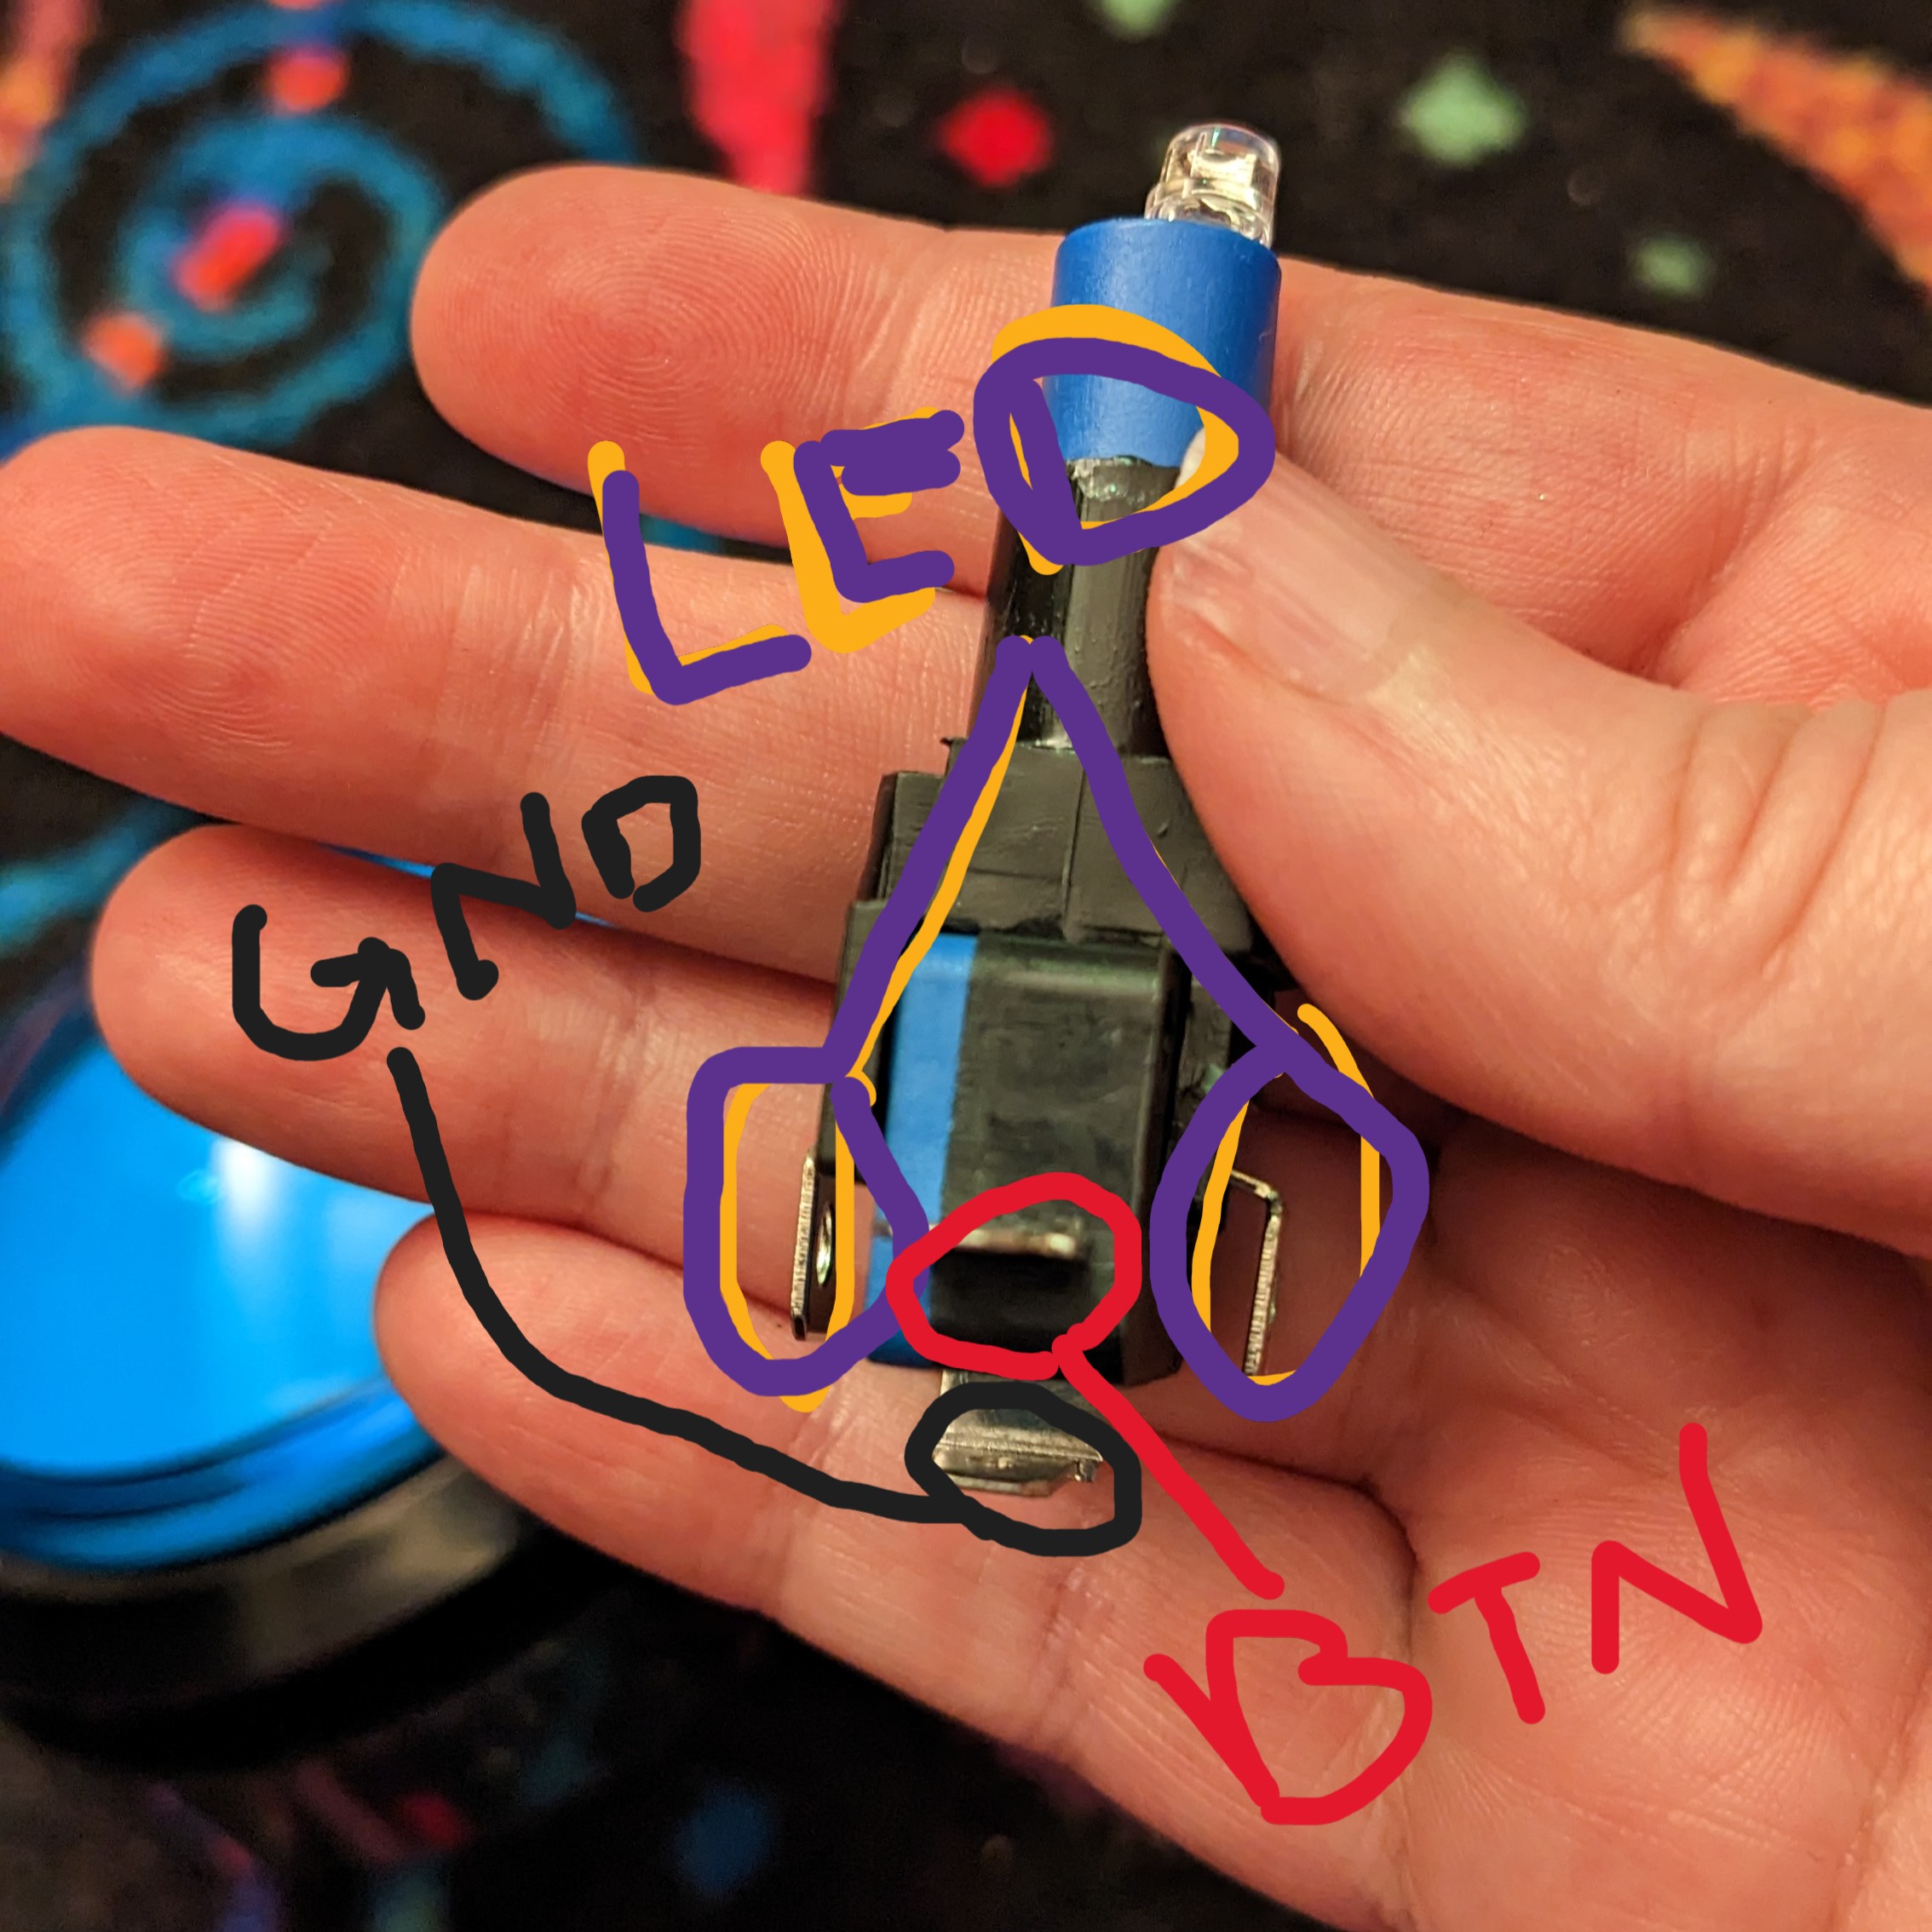
The LED terminals aren't labelled that I could see, so I grabbed some alligator clips and a 9V battery If you got it right the LED will light up. Love a good feedback loop. "BTN" is the one you connect to your microcontroller digital input pin. "GND" connects to ground.
I know there are "quick connect" wires that you just kind of jam onto these terminals, but said wires were way too fat for the tiny circuit board, so I ended up just soldering everything in place. I used to be really intimidating by soldering, but then I discovered that I don't have to make every connection a perfect one; a C+ joint still gets the job done.
I soldered the BTN wire to a digital pin, I picked #4 just because. The LED power went to RAW, which I think might not be correct, but it works so I'm leaving it. And then both ground wires went to the 2 GND pins on the board. EZ.
Software
Now we plug this bad boy into the computer and fire up the Arduino IDE.
- I followed the setup instructions on [https://learn.adafruit.com/adafruit-kb2040/arduino-ide-setup](this page) to get the IDE to support this kind of board.
- Then I told it I was using that kind of board: Tools > Boards > Raspberry Pi RP2040 Boards > Adafruit KB2040.
- I uploaded this sketch:
 #include "Keyboard.h"

const int buttonPin = 4;  // change this if your wire connects to a different pin
int buttonState = 1;

void setup() {
  pinMode(ledPin, OUTPUT);
  Keyboard.begin();
  pinMode(buttonPin, INPUT_PULLUP); //if you don't use INPUT_PULLUP you will be annoyed and sad, learn from my mistakes
}

void loop() {
  buttonState = digitalRead(buttonPin);

  if (buttonState == LOW) {
    Keyboard.write(KEY_F5);
    delay(1000); //do not refresh the page more than once a second
  }
}
And then I tested it by tabbing over to Firefox and pushing the button. The page refreshed as expected and, I gotta say, it's pretty satisfying.
TBD: A better box
Right now, the button lives inside a cardboard box that originally held fancy chocolates. This is fine for now, but definitely won't stand up to any kind of crowds. My plan is to bribe my friend with the 3D printer to print me a little box with RESET on the side. She is aware of her assignment, so I'm calling this step "done for now."
And that's where I'm leaving it for now. Next time: cleaning up the code.